Smush Painting for Babies, Toddlers, and Kids: A Colorful Adventure!
Looking for a delightful and mess-free (relatively) art activity to enjoy with your little ones? Look no further than smush painting! It’s a fantastic way to engage your child’s creativity while exploring textures, colors, and patterns.

I’ve got all the deets for you right here. Let’s dive into what smush painting is, the supplies you’ll need, step-by-step instructions, safe paints for babies, cleanup tips, and why this is an absolute blast for the whole family!
Some of my blog posts may contain affiliate links, from which I may receive a small commission at no additional cost to you.
What is Smush Painting?
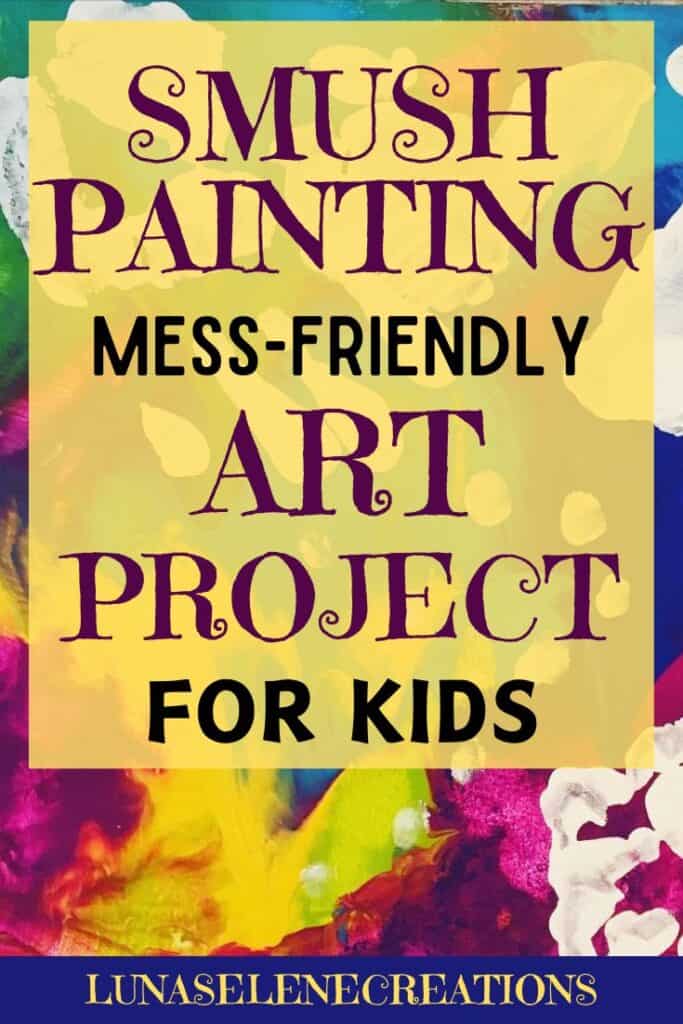
Smush painting is a simple yet captivating art technique where children can create beautiful, abstract designs by smushing together various colors of paint.
It’s all about embracing the mess and letting your child’s imagination run wild! Plus, it’s a sensory-rich experience that can be tailored to suit the developmental stage of your little artist, from babies to toddlers and beyond.
Supplies You’ll Need:
Before diving into the colorful world of smush painting, gather these supplies:
- Washable Paints: Opt for non-toxic, washable paints that are safe for kids. Brands like Crayola and Melissa & Doug offer a wide range of vibrant colors perfect for smush painting.
- Thick Paper, Cardstock or Small Canvas: Choose sturdy paper or cardstock to withstand the smushing process without tearing. When we did this project we used a small canvas from Dollarama. A little canvas board would work great too!
- Paintbrushes (Optional): While not essential, paintbrushes can be used to spread paint on the paper before smushing for added texture.
- Saran Wrap, Wax/Parchment Paper, or Ziplock Bags: These items will be used to contain the paint and facilitate the smushing process. Choose based on what you have available or what your child prefers.
- Wide Painter’s Tape: If using a canvas, you can secure the saran wrap or wax paper to the back of the canvas with wide painter’s tape or masking tape to keep excess paint from oozing out the sides.
- Protective Apron or Old Clothes: Smush painting can get messy, so dress your child in clothes you don’t mind getting paint on, or use a protective apron.
- Surface Protection: Lay down newspaper, an old tablecloth, or a plastic table cover to protect your work surface from paint spills.
- Optional Extras: Glitter, sequins, or other embellishments to add some sparkle to your smush paintings!

Step-by-Step Instructions:
Now, let’s get smushing! Follow these simple steps for a colorful adventure:
- Prepare Your Work Area: Lay down your protective surface and gather all your supplies within easy reach.
- Prepare the Paint: Squeeze small amounts of different colored paints onto your paper or cardstock. Encourage your child to choose their favorite colors or experiment with mixing them together for new shades.
- Smush Technique 1: Using Saran Wrap:
- Lay a piece of Saran Wrap over the paint.
- Press down gently on the Saran Wrap, spreading the paint around and creating interesting patterns.
- Carefully peel away the Saran Wrap to reveal your masterpiece!
- Smush Technique 2: Using Wax/Parchment Paper:
- Follow the same process as with Saran Wrap, using wax or parchment paper instead.
- Press down gently and peel away to reveal the smushed design.
- Smush Technique 3: Using Ziplock Bags:
- Place the paper with paint inside a ziplock bag.
- Seal the bag, ensuring there’s no air inside.
- Encourage your child to smush and squish the paint around inside the bag to create their masterpiece.
- Add Embellishments (Optional): Sprinkle glitter or add sequins to the wet paint for extra flair.
- Let It Dry: Allow your smush painting to dry completely before displaying or hanging it up for everyone to admire!
You May Also Like: Fun & Easy DIY Christmas Mason Jar Luminary Ideas
Safe Paints for Babies
When selecting paints for smush painting with babies, opt for water-based, non-toxic paints specifically formulated for infants.
After all, safety is paramount, especially when it comes to our little ones.
These paints are designed to be safe for babies to explore with their hands and feet, providing a sensory-rich experience without any harmful chemicals.
Easy Cleanup Tips
After the creative fun comes the cleanup! Here are some tips to make tidying up a breeze:
- Washable Paints: Stick to washable paints for easy cleanup. Simply wipe down surfaces with a damp cloth or use soap and water to clean up any paint spills.
- Protective Surface: Dispose of any used Saran Wrap, wax/parchment paper, or ziplock bags, and wipe down your work surface.
- Apron or Old Clothes: Toss any paint-splattered clothes into the laundry for a thorough wash.
Why Smush Painting is a Fun Project
Smush painting isn’t just about creating beautiful art—it’s about fostering creativity, sensory exploration, and bonding with your child.
It’s a mess-friendly activity that encourages experimentation and imaginative play. Plus, the end result is always unique and full of personality, reflecting your child’s individual style and creativity.
So, gather your paints, embrace the mess, and let the smushing begin! With smush painting, every squish and squiggle is a masterpiece in the making. Happy smushing! 🎨✨
Love, Luna
Luna Selene Creations is a participant in the Amazon Services LLC Associates Program, an affiliate advertising program designed to provide a means for sites to earn advertising fees by advertising and linking to Amazon.com
